After helping a friend upgrade their garage into a workshop I took the opportunity to take on some bigger projects I’ve been wanting to do. The first being some cabinets to go under my desk. I bought an IKEA HAMMARP countertop, measuring at an impressive 98” long, to use as my desk top which sits on two ALEX 5 draw units also from IKEA. The counter top is thick enough to not need any center support but to still be able to reach the drawers while I’m sitting at the desk the counter top overhangs a bit on both sides. In my continued effort to try and keep a clean desk I saw the opportunity to build 2 more custom units that would sit under these desk overhangs.
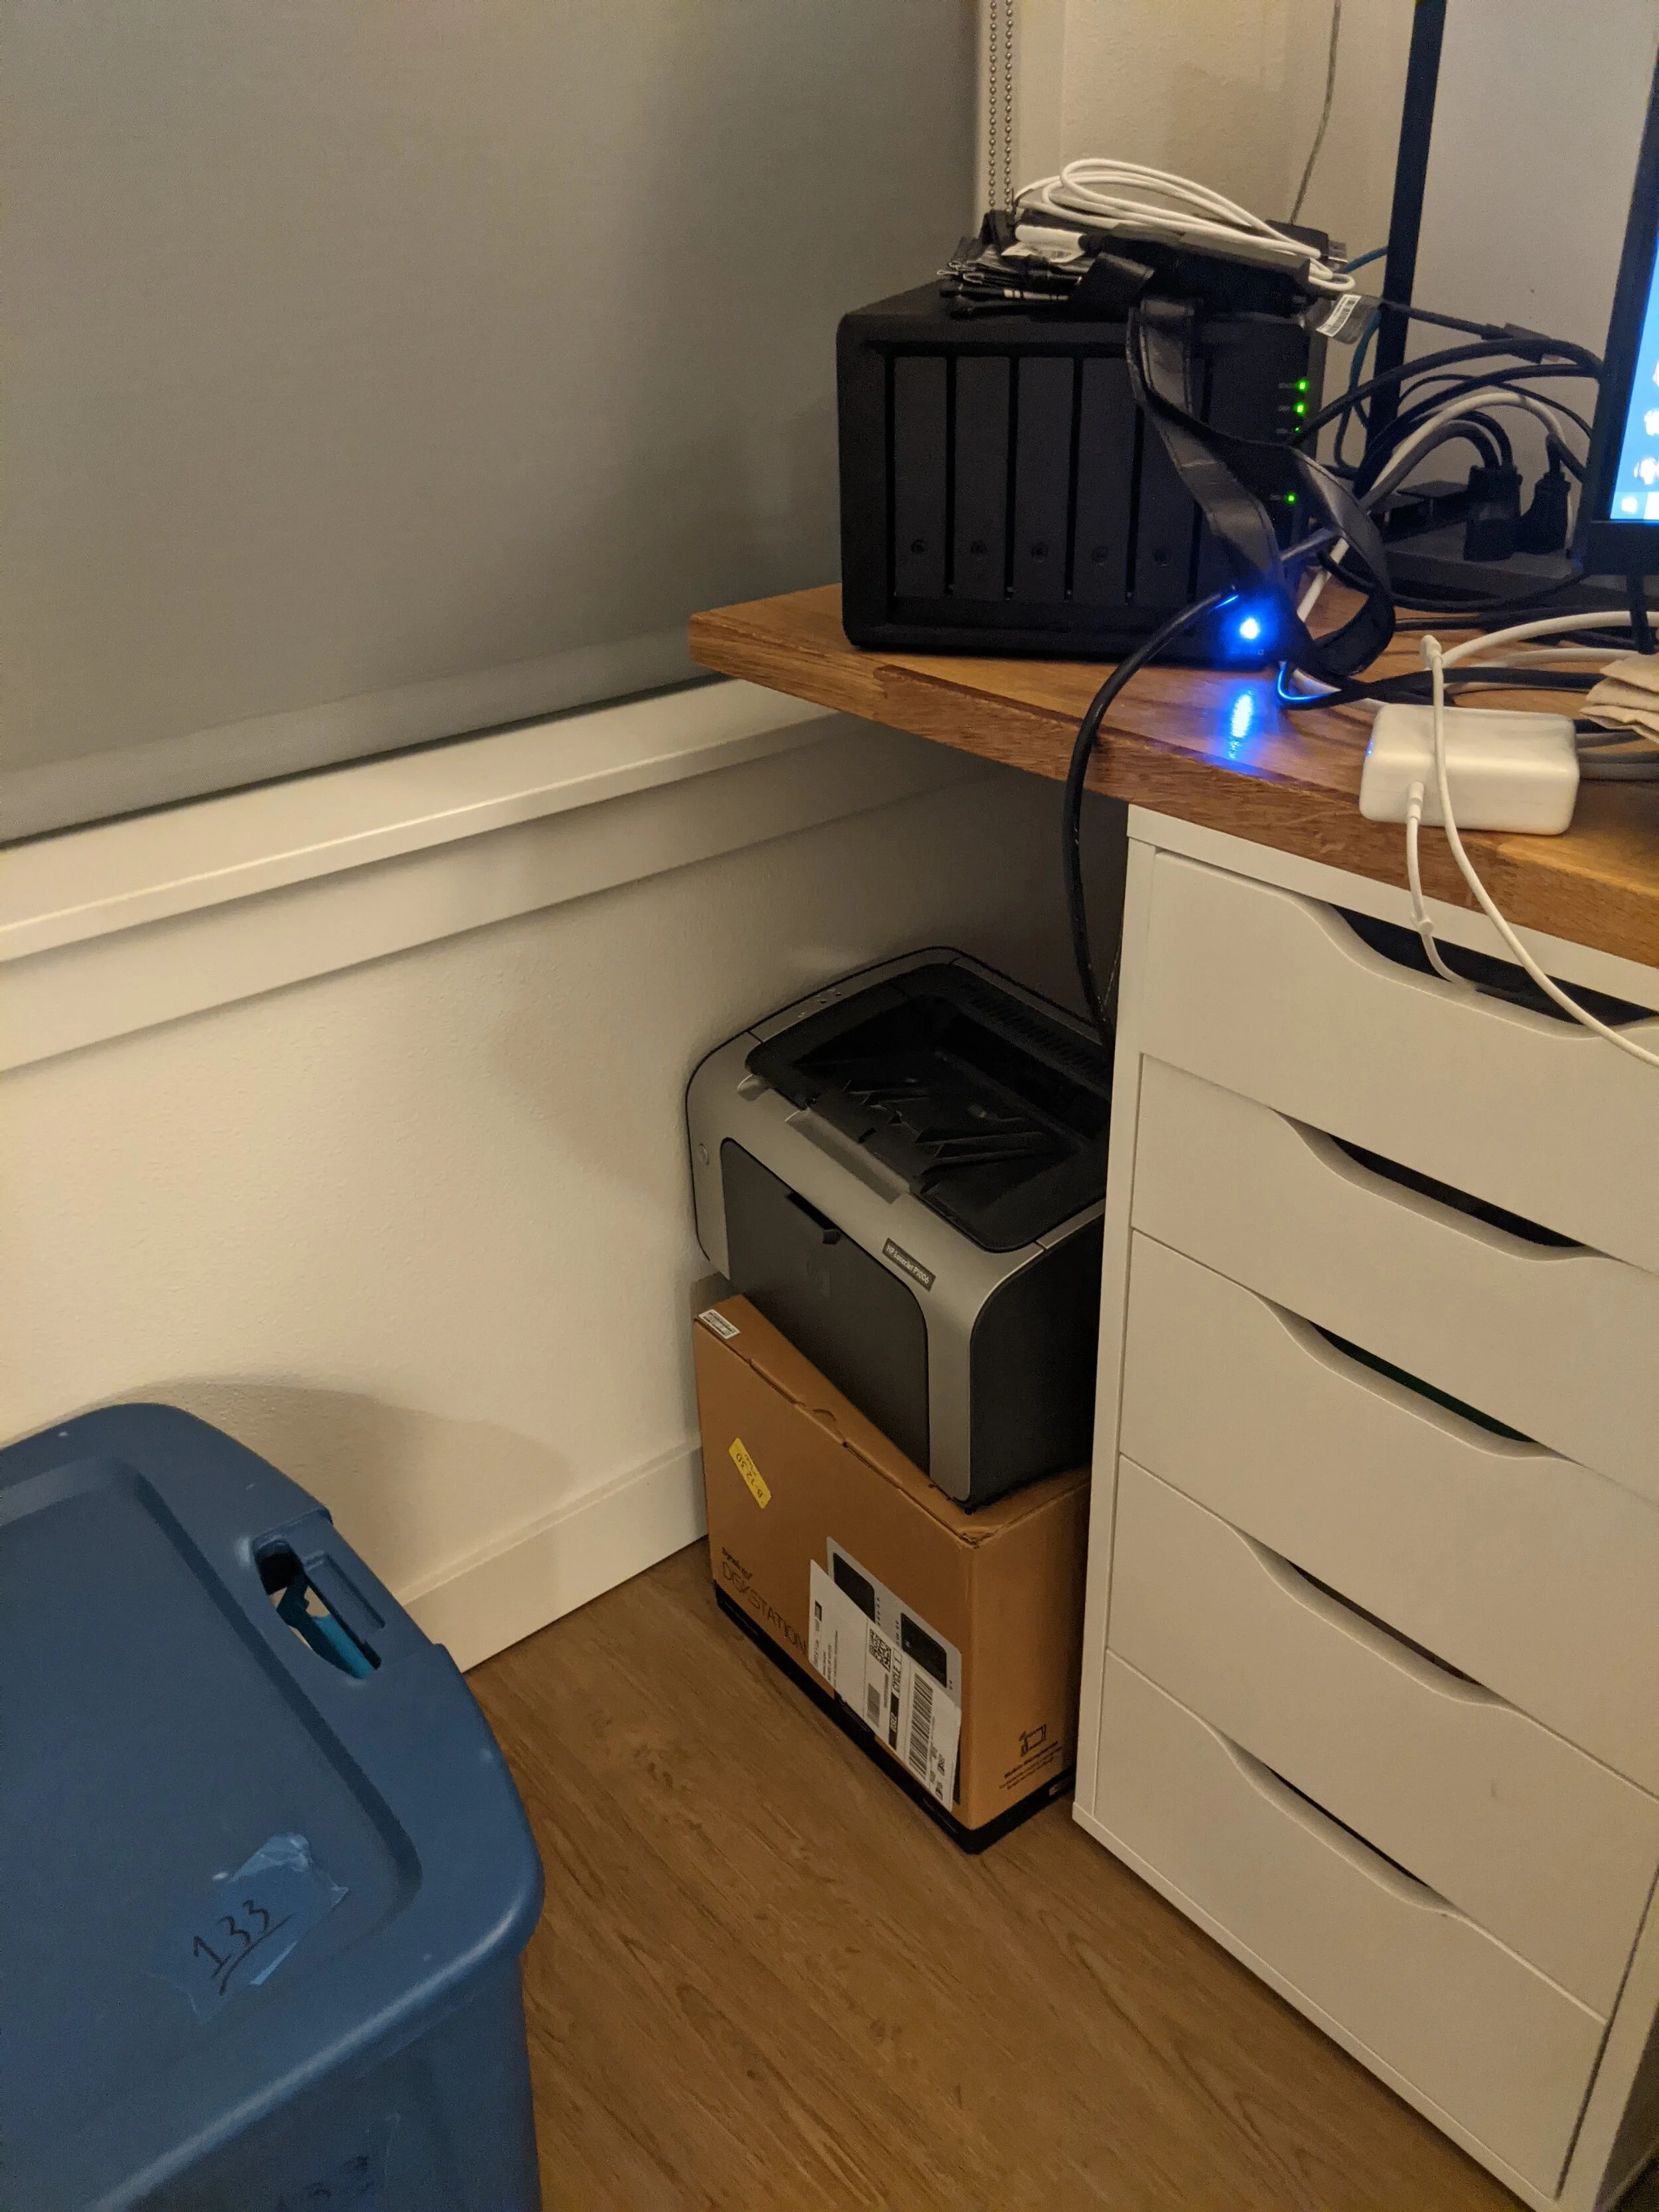
Starting in blender I put in the measurements of how big of a space I have for both areas. My desk sits between a wall and a couch so I was bound to very strict dimensions. Sticking to software I know I did the unspeakable task of building everything in blender, any changes I made through the design process required me to then update the rest of the object relative to the change. After deciding what components would go on each I modeled some of the bigger components and built the boxes around them. The left unit is wide open and holds my NAS Server, external USB HDDs, and a laserjet printer. The right tower is enclosed with a hinged door and holds a few power strips, charging cables, and all networking routers/switches. A WAP will mount above the unit giving my entire apartment good wireless coverage.


With everything mocked I transferred the dimensions to my notes and decided on what wood to use for the build. Not wanting to deal with renting anything large or delivery fees on standard 4’x8’ sheets of plywood I found a Rockler store nearby with 24”x30” 1/2” baltic birch plywood which both fits in my car easily and is within dimensions for the project.
With all the parts obtained and the cut list ready I began the work! I haven’t done a proper woodworking project since finishing my TV stand in 2016 so I expected mistakes, measured everything twice…and still had to cut a few pieces twice but had enough scrap wood to make up for those miscalculations. Pocket holes were the main attachment method with wood glue for the long run making sure nothing fell apart. I made minimal changes from the initial designs as I started seeing the project in front of me but did end up changing the holes on the right tower. Instead of having to drill internal holes to allow wires to internally go between shelves I just cut the shelves short and made one larger hole at the back for everything to come out of. After some cuts, way too much sanding, and glue/screw ups I had 2 fully assembled and unpainted desk units.


Finishing the units was where another mistake of mine came in. Thankfully I take way too many pictures and knew what brand/type of paint to get so these units would match the TV stand but I was unaware that the primer is sold clear with the intention that at the home improvement store the colors are added to it. It did not matter too much as the top coat paint was a brilliant bright white so even with a clear primer the end results still matched up to both my IKEA drawers and the TV stand.

