As Christmas gifts for my immediate family this year I was wanting to get a bit more digital compared to the all physical build of last year’s jack stands. I saw a post on Reddit for a digital photo frame using an eInk display to loop through multiple images, like most digital displays, and thought that would be a cool idea to run with. I found a display on Ali Express and started designing ideas in my head. The eInk driver ran off a RaspberryPi and I wanted to unit to be portable which made battery life a big concern. After a few weeks of googling I found the Witty Pi, an add on board that added a real time clock and the ability to set a schedule to turn the Pi on and off. With this I could keep the Pi plugged into a large battery, turning it on for only a few minutes each day to change the display, before going back to sleep. The benefit of an eInk display is how it needs no power to keep the image it is currently displaying, power is only needed for changing the image to something else.
With all parts in hand I started to look at programming, to make sure everything works together before building an enclosure for it. Starting with just the eInk driver and the Pi I got some of the demo images to display, then with a handful of YouTube tutorials got my own image down to the right monochrome format for it to show up on the display. After that was a small python script that, on Pi startup, would redisplay the image I wanted..This was key to get the Pi to loop through photos whenever it turned back on. Next was to add in the timer, this was difficult at first as I was initially going off the wrong set of instructions and installed the wrong software to drive the power control. Thanks to the ease of the RaspberryPi once I figure that out it took all of 30 minutes to re-flash the entire Pi operating system and start over, building out my own set of instructions for getting everything to install as I needed for repeat everything for the second display I was building.


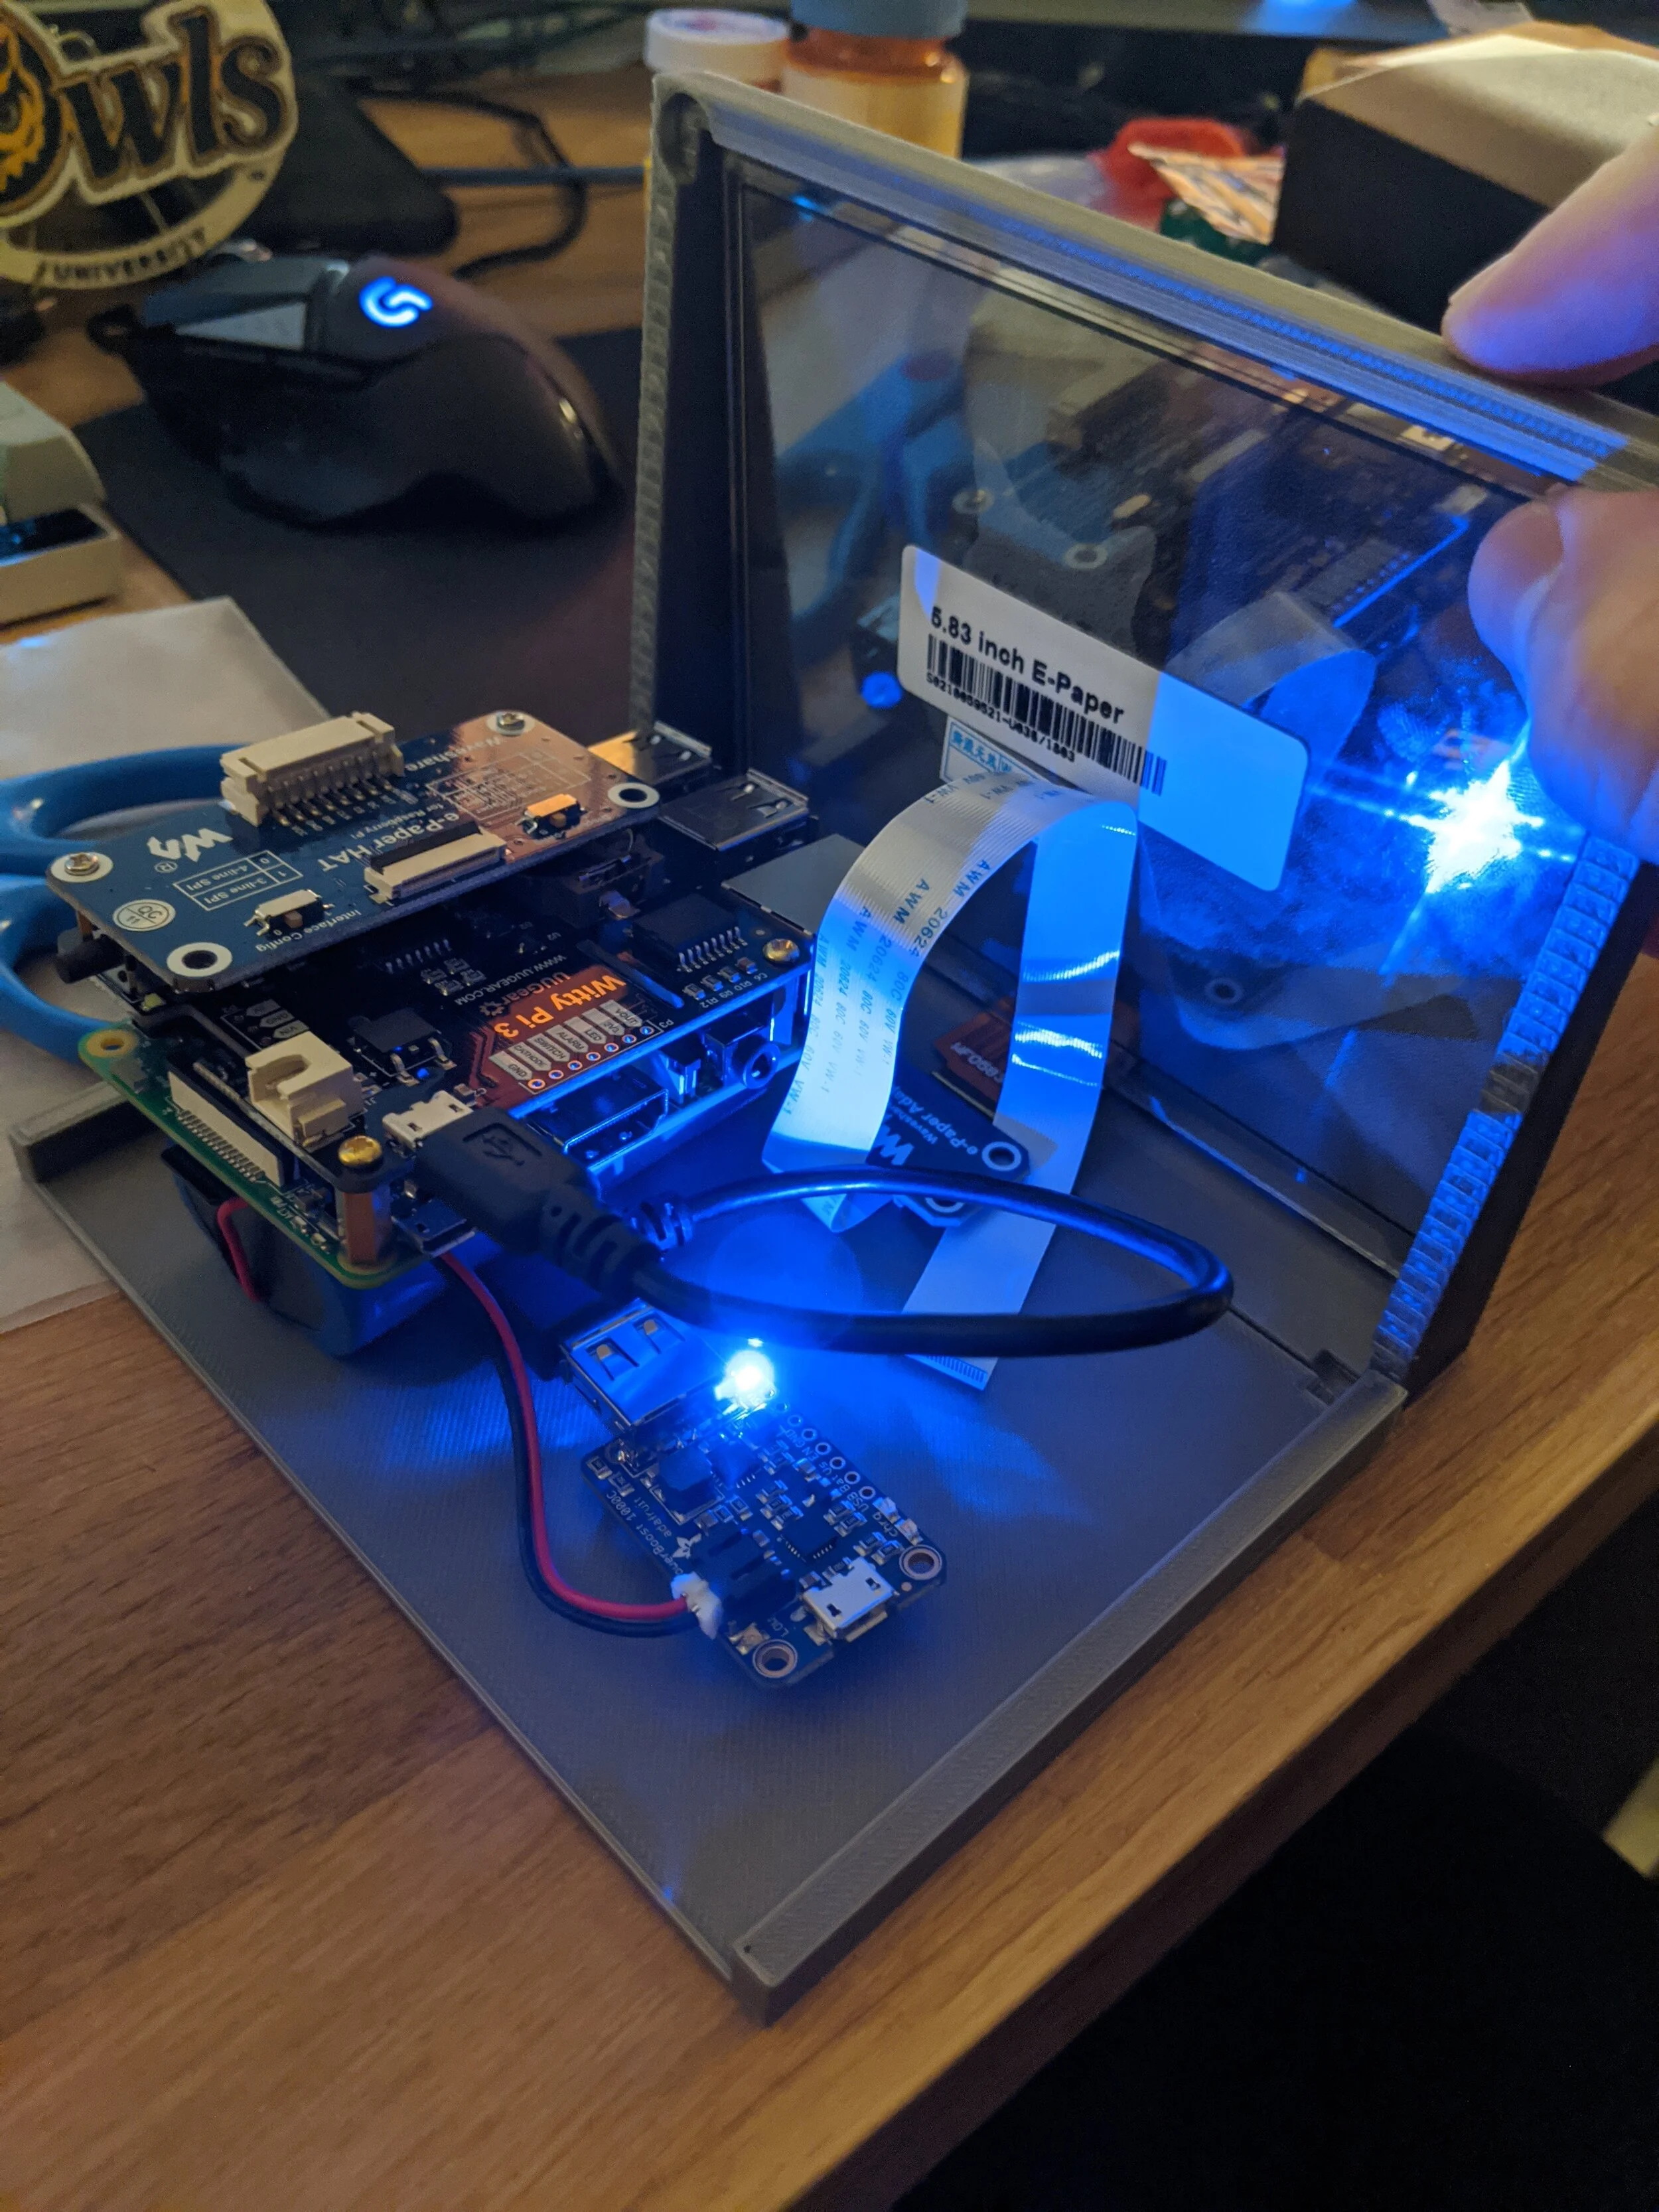
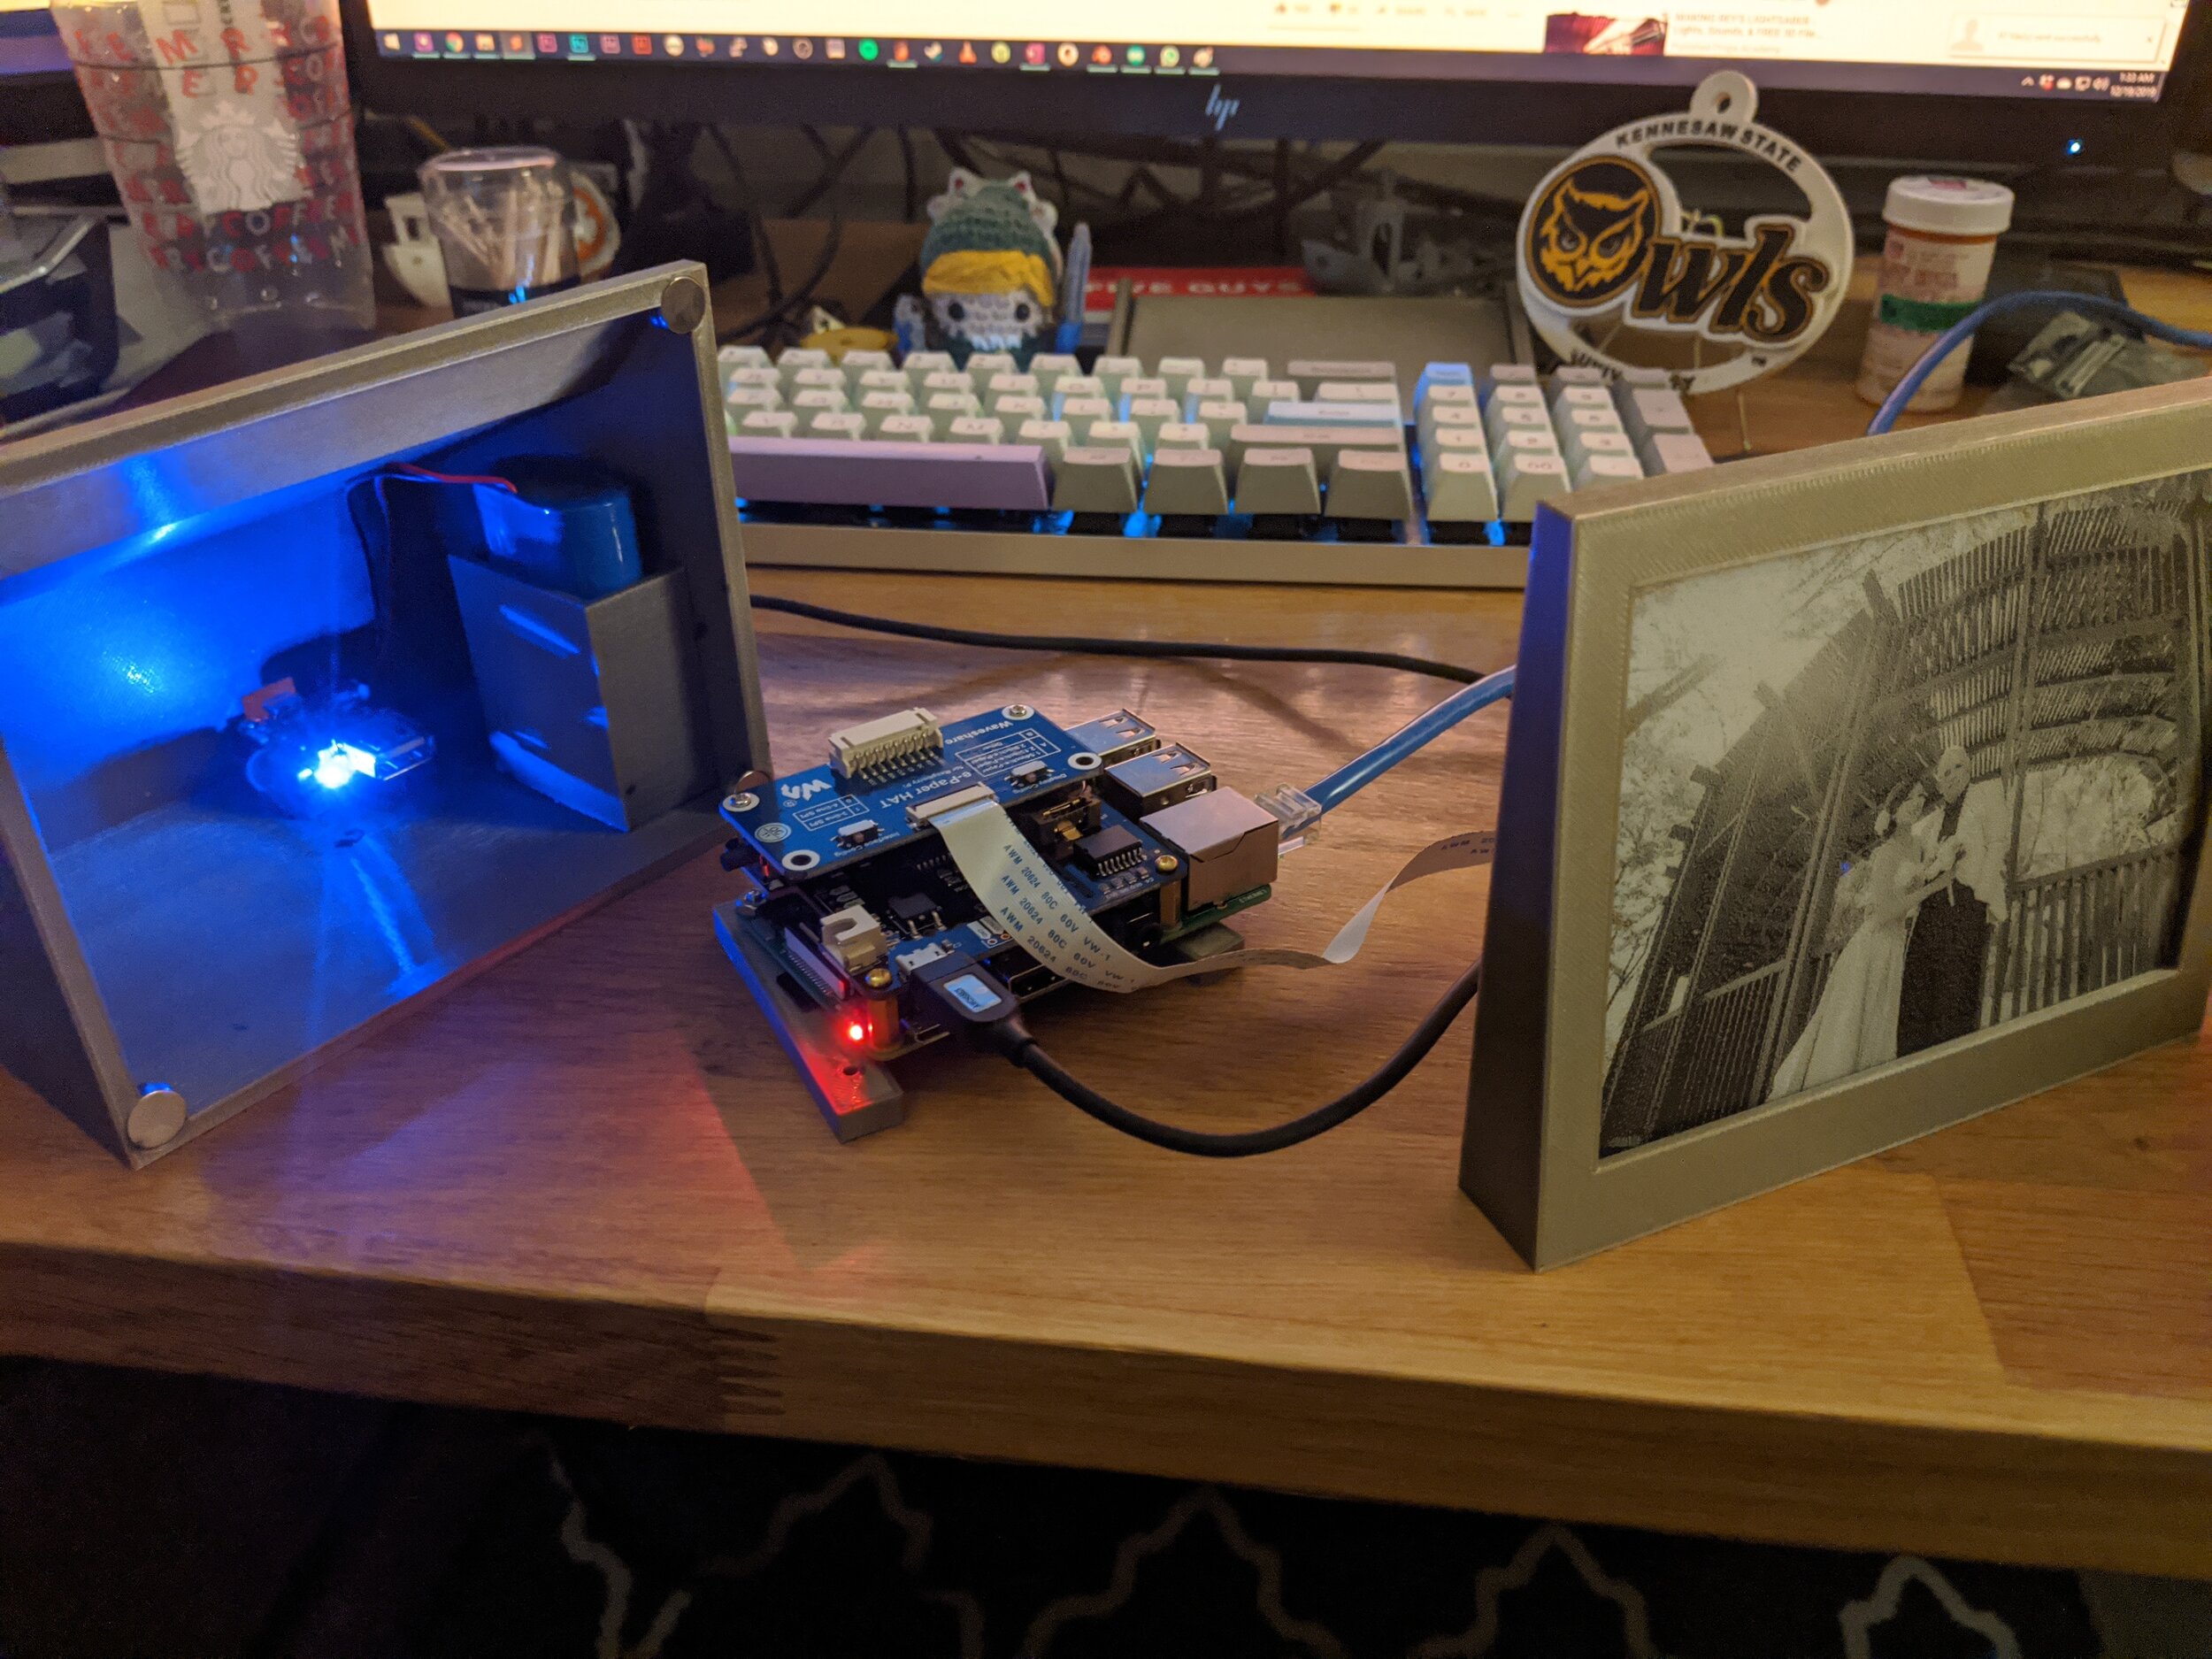
With the timer working it was time to bring everything together. The Witty board had pass through slots but I needed to enable. A few more Pi interfaces to get all 3 boards (the Pi, Witty, and eInk driver board) to all talk together. Once all attached and with my script running ok Pi startup I did some testing having the Pi turn on every couple of minutes watching it refresh the display with my image.
Software all done it was time to move onto hardware. With 2019 being the shortest time between Thanksgiving and Christmas (on top of my procrastination being on point) I didn't have much time to iterate and design something too sleek for the display. I decided on something similar to the Retro TV Display I made in 2017, a shape representing a classic 80s portable TV. I designed the display in 2 parts with magnets holding them together so I could easily access and repair the display if needed. It was around this time my 3d printer started having issues, queue the perfect storm. The issues started with a melted bowden tube causing filament to not get fully extruded and following up with a failing heatbed thermistor cable stopping the 3d printer whenever the cable caught on an edge. Both of these spelled disaster as I was still printing out the cases and needed then to finish. Friends offered to help me which I was beyond grateful for but I managed to pull it off babysitting the printer through all the parts. The final step was to load up all the processed family imaged on the displays, set the timer to run and change to photo every 6 hours, and watch the display change time after time as I presented them to family.