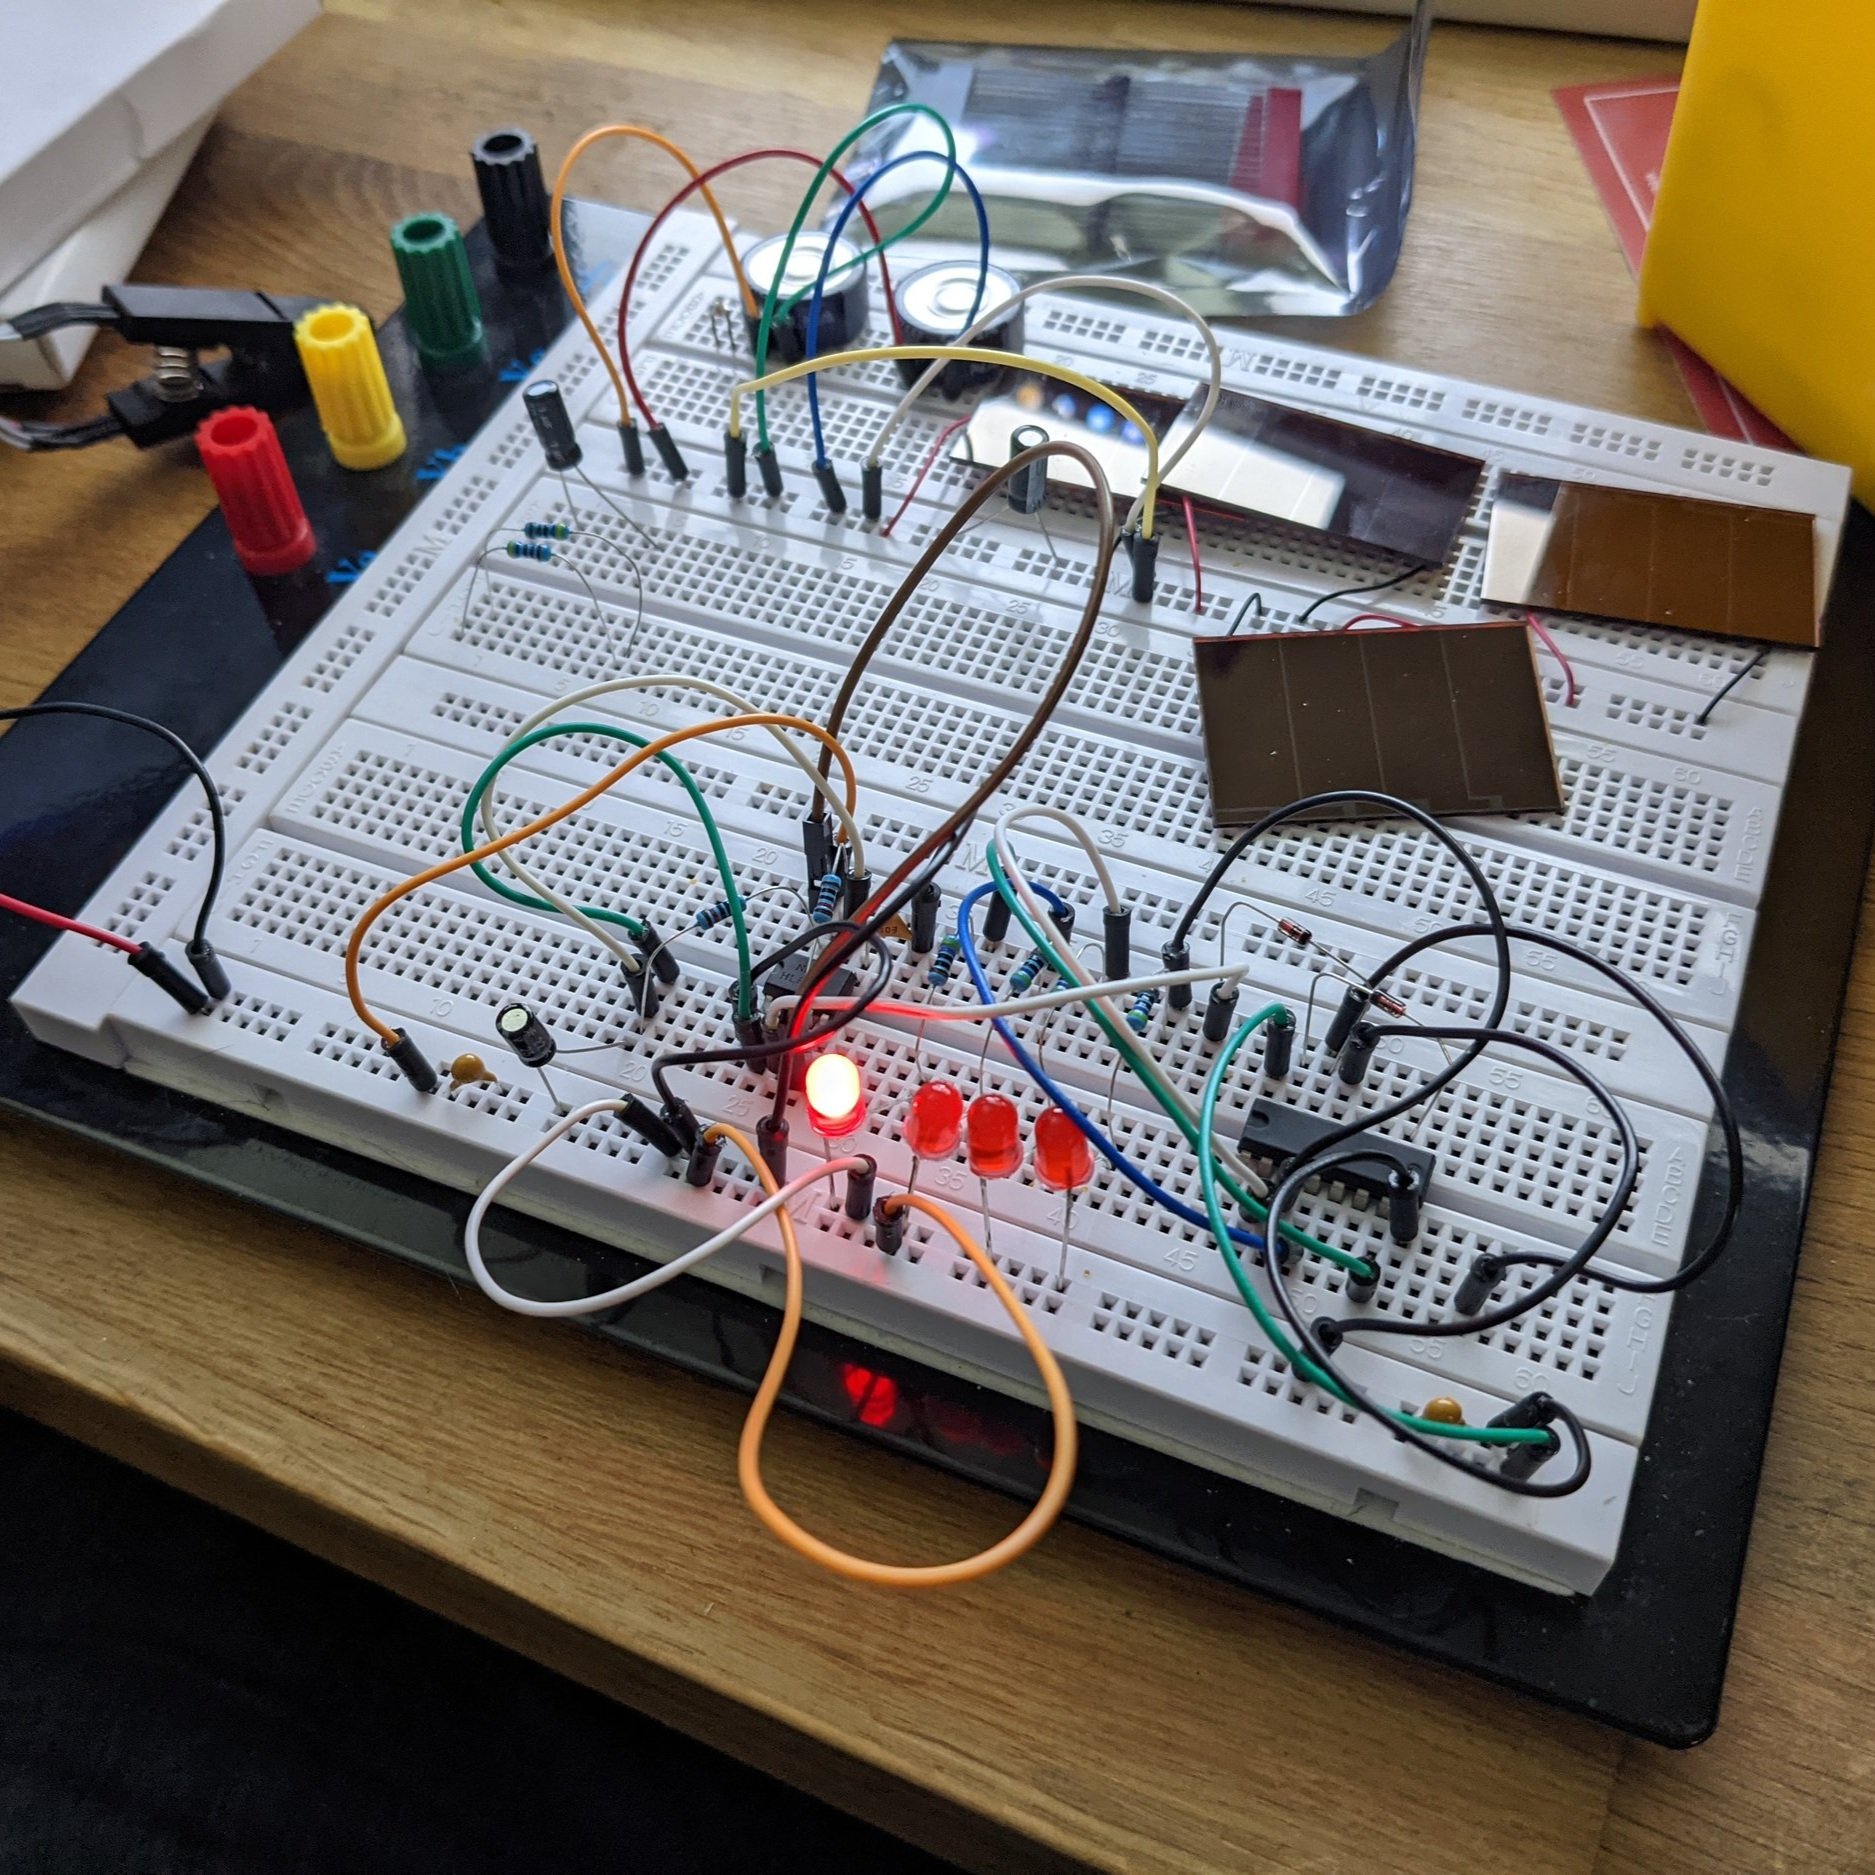
I’ve had the idea of a Space Needle focused magnet last year but the dumpster fire of 2020 got in the way and was too good of an idea to pass up so I pushed it to 2021. From all my past holiday magnets I’m most proud of the 2019 Christmas tree but had one concern over the need for batteries so the tree couldn’t always be lit. That ‘range anxiety is how I decided to pursue a solar panel path for lighting up the LEDs. Combining these 2 ideas started my research for how to power an LED from a couple of solar panels.
Plugging the solar panel straight up to an LED couldn’t keep it lit outside of direct sunlight so I found myself down another Google rabbit hole of blinking the LED, to mimic the light at the top of the needle alerting aircraft of its presence. I tried my usual circuit ideas before, first the same microcontroller from the Christmas tree magnets but it was too power-hungry. Next, a smaller [555] timing chip to enable/disable the LED but still too much power. It was then that I found the Forever Flasher. A 2 part complementary circuit that builds up a charge that can flash the LED while using the second circuit to reset the charging circuit to turn the LED off and build the initial power charge again. Instead of a battery I tested different types and decided on amorphous solar cells, the same kind that are in solar-powered calculators. While the solar would be nice I wanted the LED to keep flashing all day so I included a large supercapacitor to hold a charge, easily for 24+ hours, in parallel with the solar panels.


Laying out the circuit I saw a problem of how to mount it on the fridge. The supercapacitor is fairly large and I wanted it on the back to keep the front clean for the solar panels and space needle. I remember years ago seeing an article talking about embedding a circuit in a block of resin and have always wanted to find a reason to give this a try. I picked up a few bottles of some 2 part epoxy and gave it a try with the prototype boards I made. Using a similar process as making the molds from my first magnet in 2018 I would mix the epoxy and then degas it for a while to remove almost all the bubbles from the resin. However, that was just on the inside of the resin and the outside still needed a lot of post processing. Happy enough with the results I moved on to planning a more finalized design.
At this point, I built the circuit in some online software and planned out a board that would have the space needle on the front as well as a few pass through holes so the wires for the solar panels could pass through to the rest of the circuit that’s on the back. After a few weeks of waiting (thanks supply chain issues), I got my circuit boards and began the same process of soldering and resin casting as I did with the prototypes.


The extra step this time was sanding and polishing to the final view. The resin gets very hot as it’s curing (175+ degrees Fahrenheit) and the heat causes the top layer to start creeping up along the edges. That would need to be sanded flat as well as the rest of the sides as the mold was not perfectly flat. Starting with 60 grit sandpaper, to take away most of the unwanted material, and finishing at 3,000 grit I used a pneumatic sander to make quick work of the resin block. Even after 3,000 grit there were still a fair amount of micro scratches in the resin that I would need to revisit in the final design run. Happy with these results I moved in to polishing the resin block giving a nice mirror finished. Now it was time for the big build.
Given some leeway in my count, I estimated I’d need to make 30 magnets. The resin required 2 pours for each mold (with at least 6 hours in-between) as I had to first build a small base to glue the magnet down onto that way it would be fully encased. I had 3 molds made and from the slow cure resin I purchased, to give me more time to degas during the build, I was limited to making 3 magnets a day. Between all of life getting in the way it was a mad dash at the start of December to get everything ready so I could still have time to sand and polish them all down and get out in the mail in time.


![Thirty [one] Magnets](https://images.squarespace-cdn.com/content/v1/5be9461d25bf0268d481d36a/1639860811594-ROGUWY9MW2IXIMRV1NOK/PXL_20211204_203851366.MP.jpg)
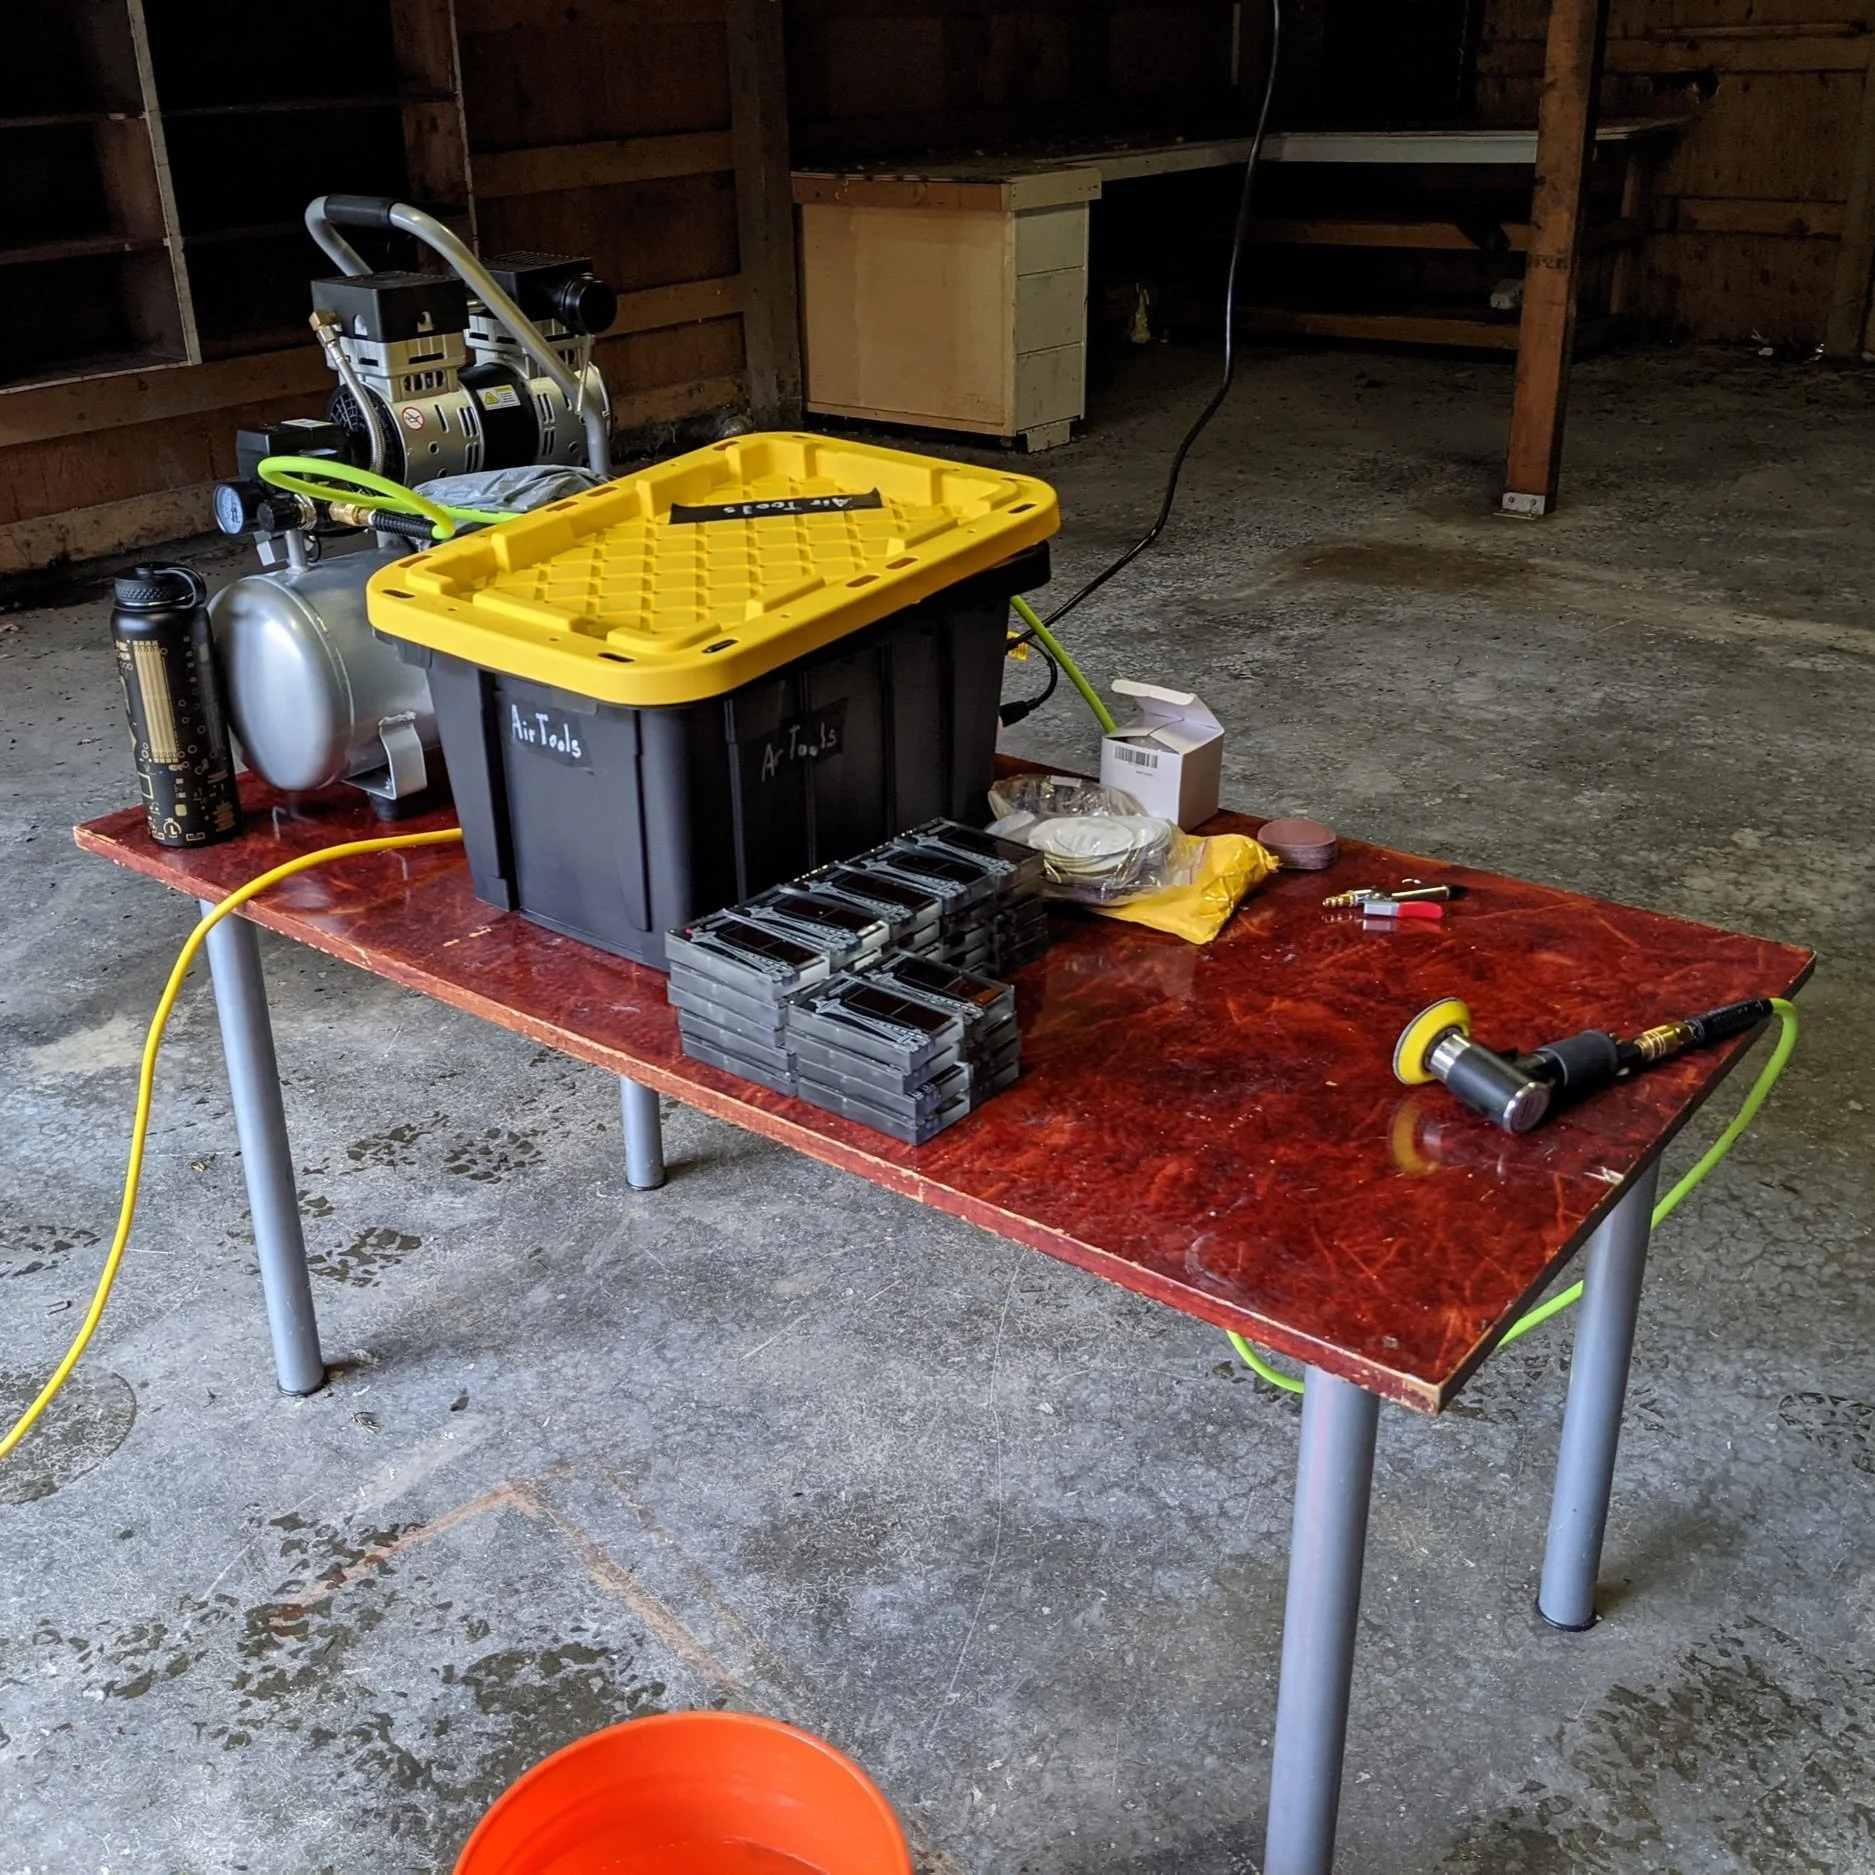
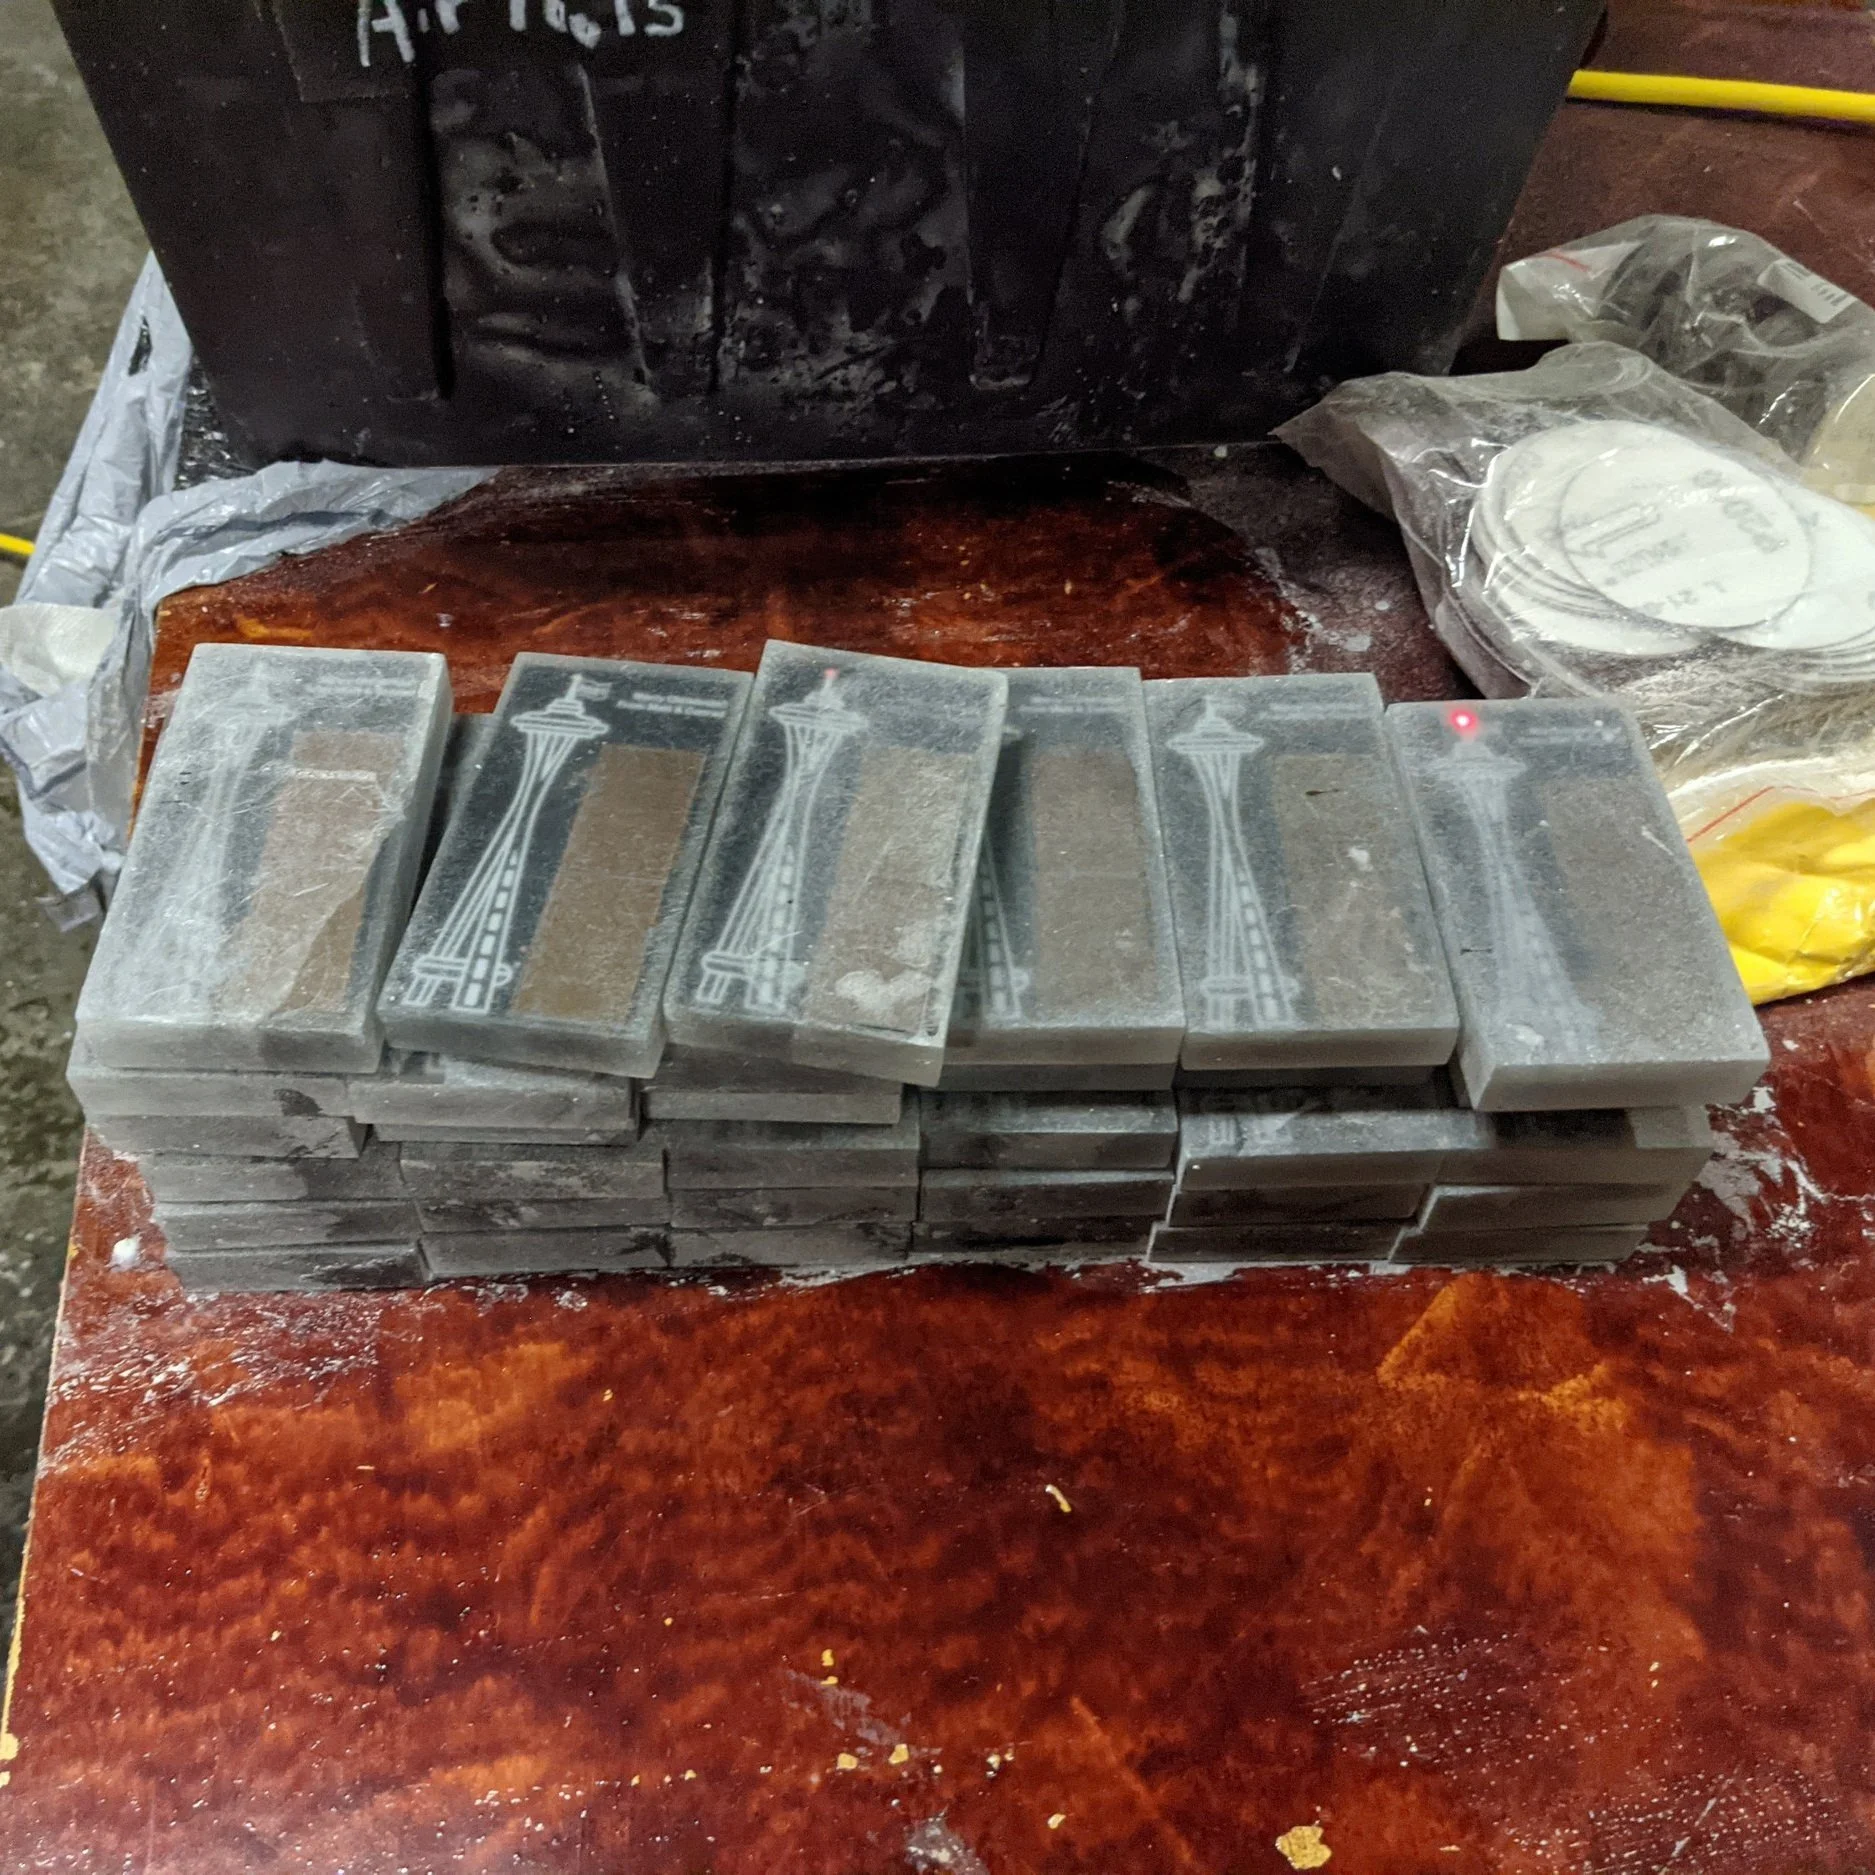

Sanding and polishing the magnets was a full weekend effort in the backyard workshop on my partner’s property. Starting again at the 60 grit I went through each magnet using a water bucket to also clean off most of the residue before moving onto the next level of sanding. While this didn’t fully eliminate the micro scratches it greatly reduced the amount. Instead of stopping at the 3,000 grit sandpaper that I used during my initial sanding tests, I continued with wet sanding up to 10,000 grit. Even though I could still see a few scratches the resin felt super smooth and once the polishing was done on them I was very satisfied with the results.
The last step was to attach the magnets onto the back, a step I did not think about once I realized 2 magnets were not enough to hold some of the thicker magnets to the fridge 🤦. I had to quickly drill a 3rd dimple in the back of each magnet and attach the 3rd neodymium onto each one making sure they were as flat as possible to the other 2 magnets.
2021 has been yet another crazy ride of a year and projects like this have kept me wanting to always push myself further and learn new skills making dumb and crazy things for friends and family. I already have ideas for what I’m going to make next year and look forward to how I can turn that into a need to buy more cool and fancy tools!


