With more electronic practice under my belt (and not being the biggest fan of the not so pretty light diffusion) of the original MacBook display light I decided to take a second stab at it. From both thoughts in my mind and seeing a few YouTubers do similar enough projects I thought that a new version of the display could have lights in a different orientation. Using multiple one way mirrors with lights around the edge the new display could appear to stretch on into infinity while keeping a slim profile.
Looking for the best low profile lights I went back to the trusty Adafruit NeoPixels. With a string of LEDs being just 10cm in width and stretching a meter in length I could start the idea with modeling a large but reasonable shape that could hold in a set amount of lights. Still at my current employer I decided to stick to the same iconic company logo only much bigger than the first version as instead of the 4 NeoPixels there would be 88 RGB LEDs in the strip.
Through multiple 3d print tests I had a proper shape that both included the base/main unit (with magnets built in to hold everything together) and the LEDs to run inside of the unit. Next up was to build the mirrors.
Coming off the magic mirror project I did years ago I wanted to keep it from being an expensive custom glass job. I went for the next best thing, clear acrylic. Not owning a laser cutter (yet) I relied on Sculpteo, a site where you can outsource laser cutting jobs to anyone in the world who has the right tools and is signed up for the site. Sculpteo easily accepts SVG files so with a few hours on YouTube and a lot of fiddling around I had the shape I wanted for the acrylic that would fit the molds.
The laser cutting service would provide clear acrylic but further steps were needed to make them into the mirror finish I wanted. Using one way ‘mirror film’ light could get inside the unit and keep reflecting light inside it to infinity. Companies sell rolls of mirror film that I could use for this. After a quick clean of the shipped acrylic and applying the self adhesive mirror film I got 2 patterns I could then put together with the 3d printed mold.


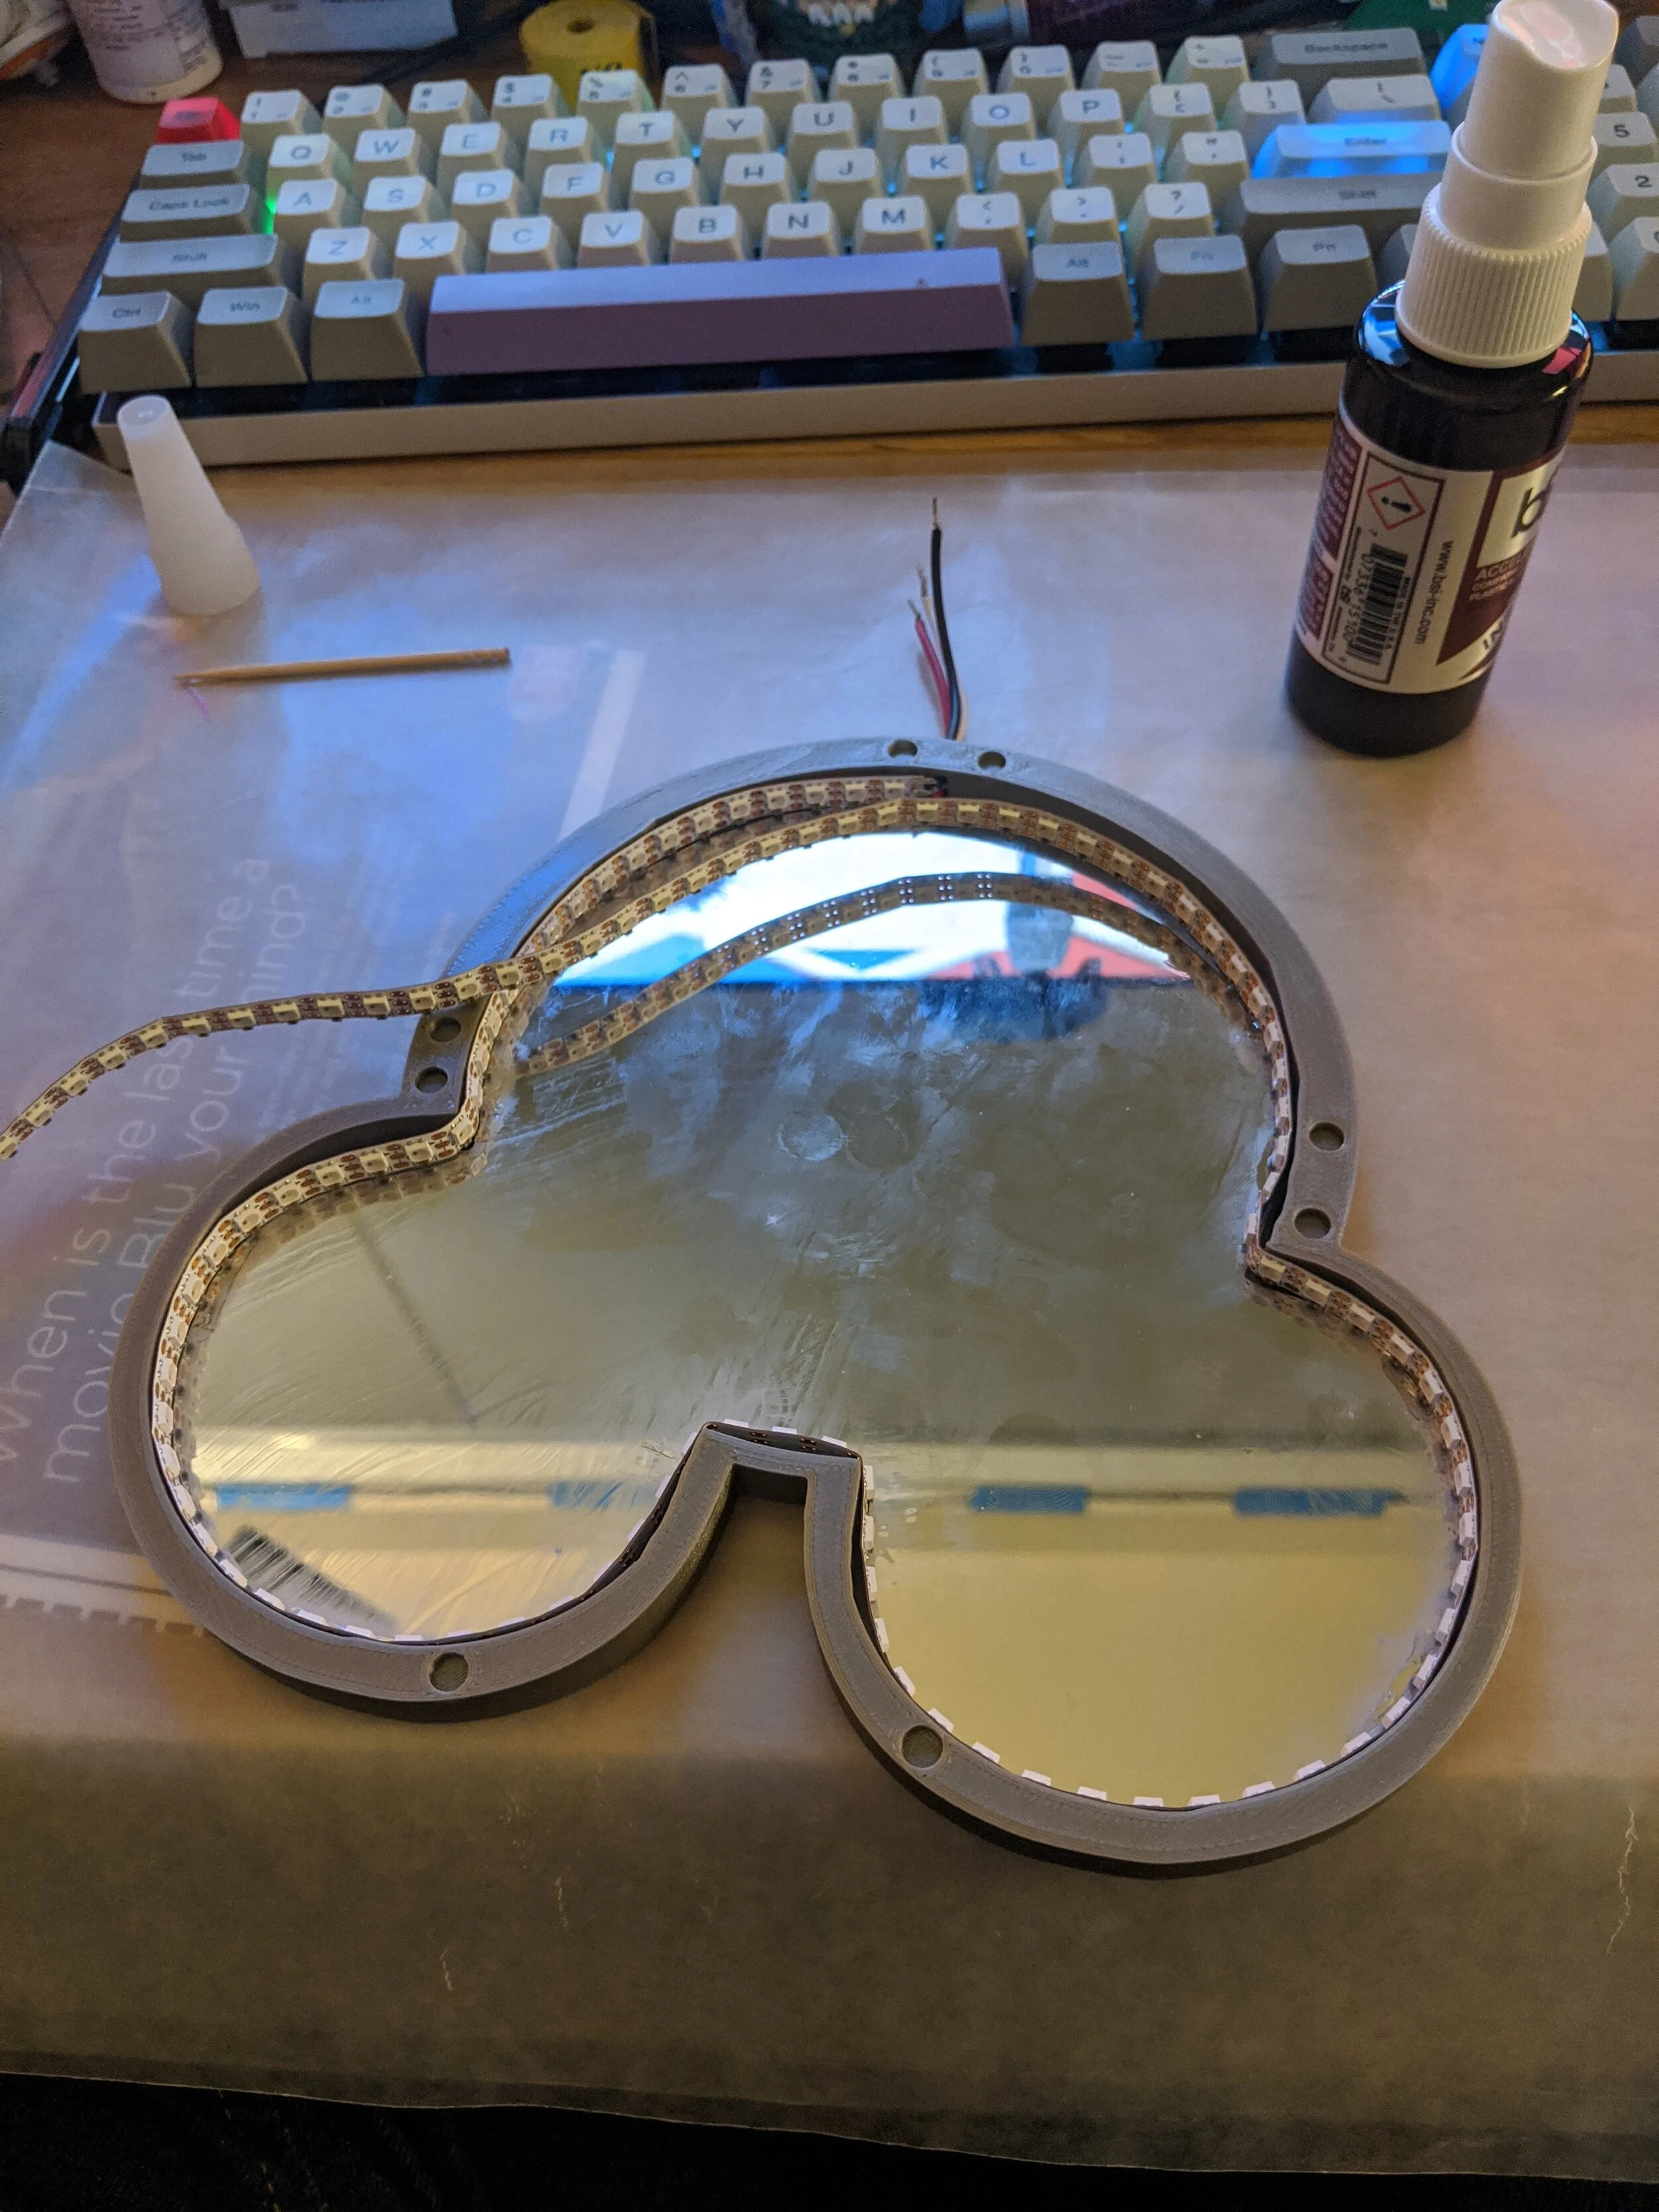

Testing the fit of the lights/mirrors/mold together the final step was to get the lights working. Expanding my skill set I decided to try an upgrade from the atTiny I used before in the Christmas Tree PCBs to an ATmega32u4. While the extra functionality wasn’t needed for this project it's still great practice to work with larger chips and I have had tons of practice already as the ATmega is used in some Arduino development boards. Designing the circuit I thankfully remembered to fix a lot of the issues I made on the first version. While waiting for the order I worked on a small 3d printed holder for the board to attach to my laptop as it was too big to fit into the main mold.
With the board in my hand and all components soldered on it was time for the test runs. Because it was the same NeoPixel setup as the last board, just with more lights, I could reuse all of the same code just changing the NeoPixel count from 4 to 88 for testing. Later on I can add in unique patterns.
A few mins of soldering the NeoPixel strip to the board and a first power up was a fast success! Again using the same code meant that the same software for the Mac to control the lights status during standby/power up worked as well. All that was left was to attach everything to the board.
While I finished this project just before I (and most of the rest of the world) began working from home a small handful of co-workers saw the finished project and really enjoyed how it looked. I look forward to trying new light patterns and picking up my next NeoPixel project!


